How It Works
The Matrix WandTM Measuring System
The Matrix Wand is the tool of choice for body shop professionals to quickly identify hidden damag4 and improve work flow through the shop. Prior to the Matrix Wand, blueprinting each vehicle that arrived in the shop was time consuming and often cost prohibitive. Tearing down each car to find hidden damage consumes valuable time on the frame machine, labour, and shop floor space. Within a matter of minutes every car that goes through the shop can be measured to identify hidden damage to:

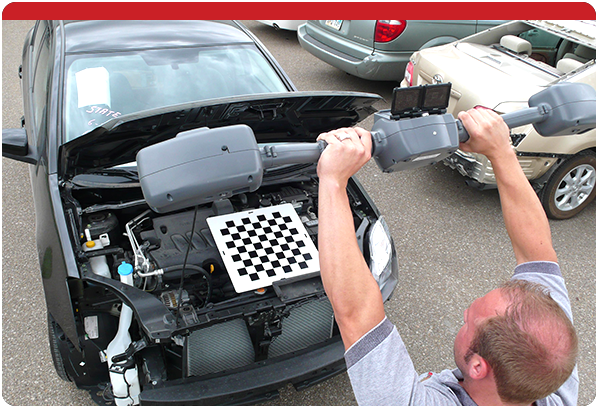
1 Image the Vehicle
Use the target-less handheld Matrix Wand to take 3D images of the vehcle with minimal tear down. Captured images can be used to measure;
2 Capture the Data
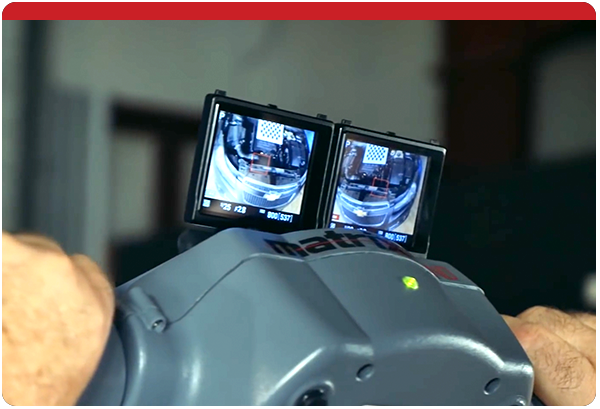
Use Matrix's proprietaqry data collection software to dowload the 3D images and data points to your computer. This process is quick and easy giving you the ability to capture visible and hidden dage quickly.
3 Measure Fast and Accurately
Use the Repair Analysis Software to start meaursing any print om the n the vehicle.
![]() STEP 1
STEP 1 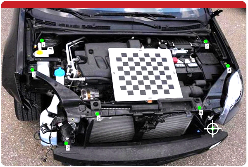 STEP 2
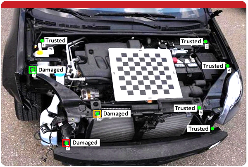
STEP 3 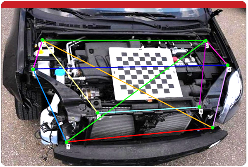
![]()
4 Document and Blueprint
Document the damage to share with insurance comapanies and custom,ers. Blueprint the job to assure work is carried out and parts ordered with the greatest efficiecy.

6 Repair and Verify
Carry out the repair and use the Matrix Wand to assist with accuracy. This includes sensor angle positioning, hanging doors, verifying alignmemt and checking suspension. Capture a final measurement to verify the car is repaired back to specification and document to minimize liabiity.

DEMONSTRATION
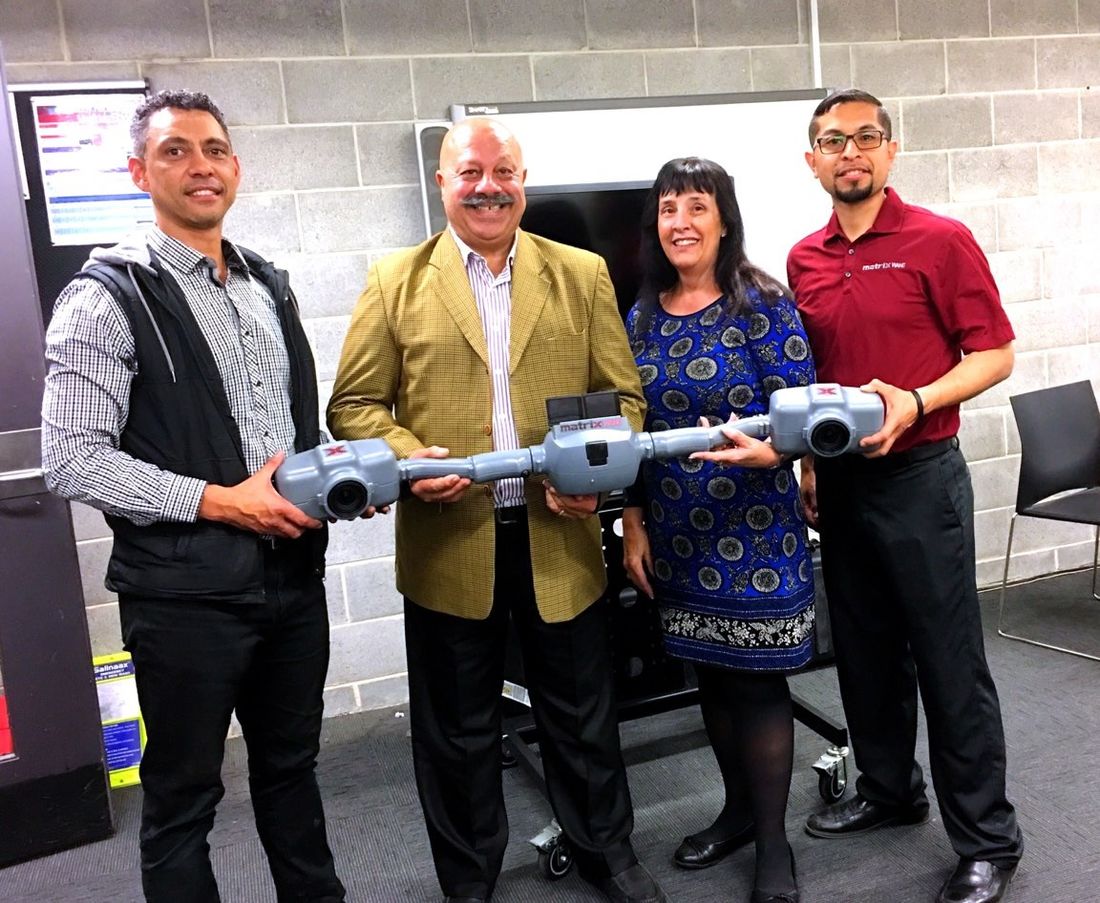
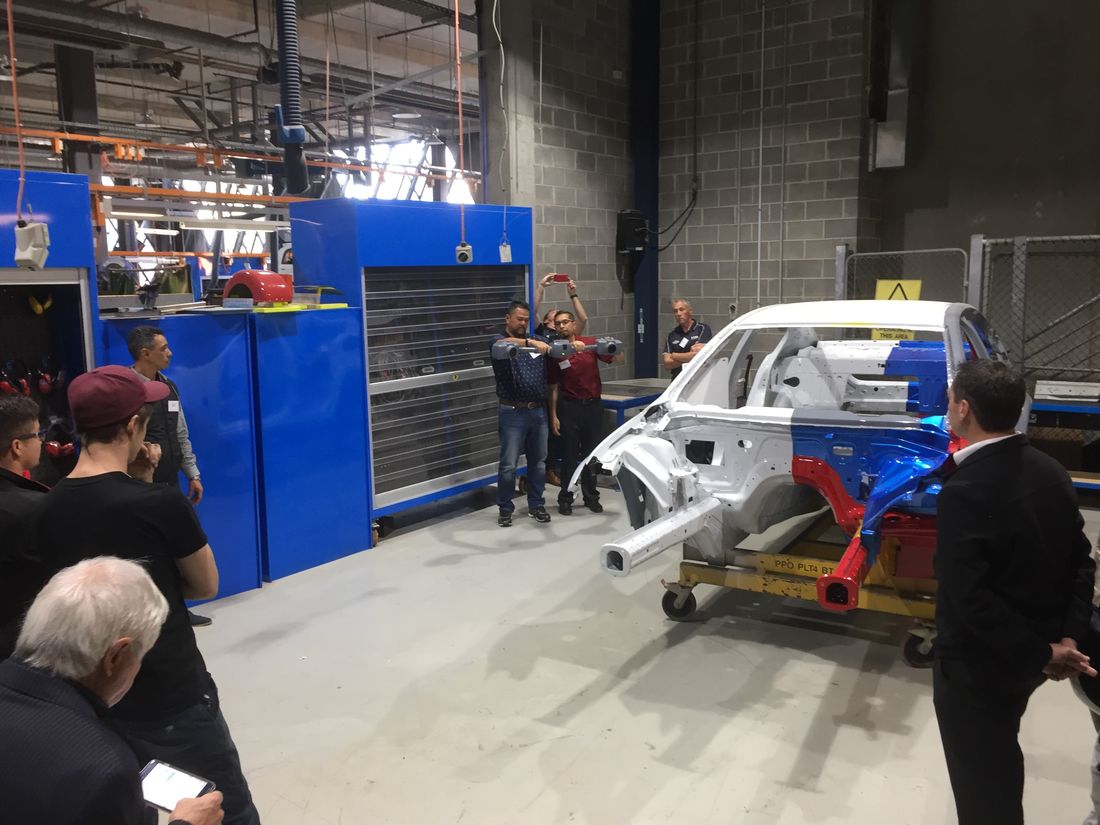
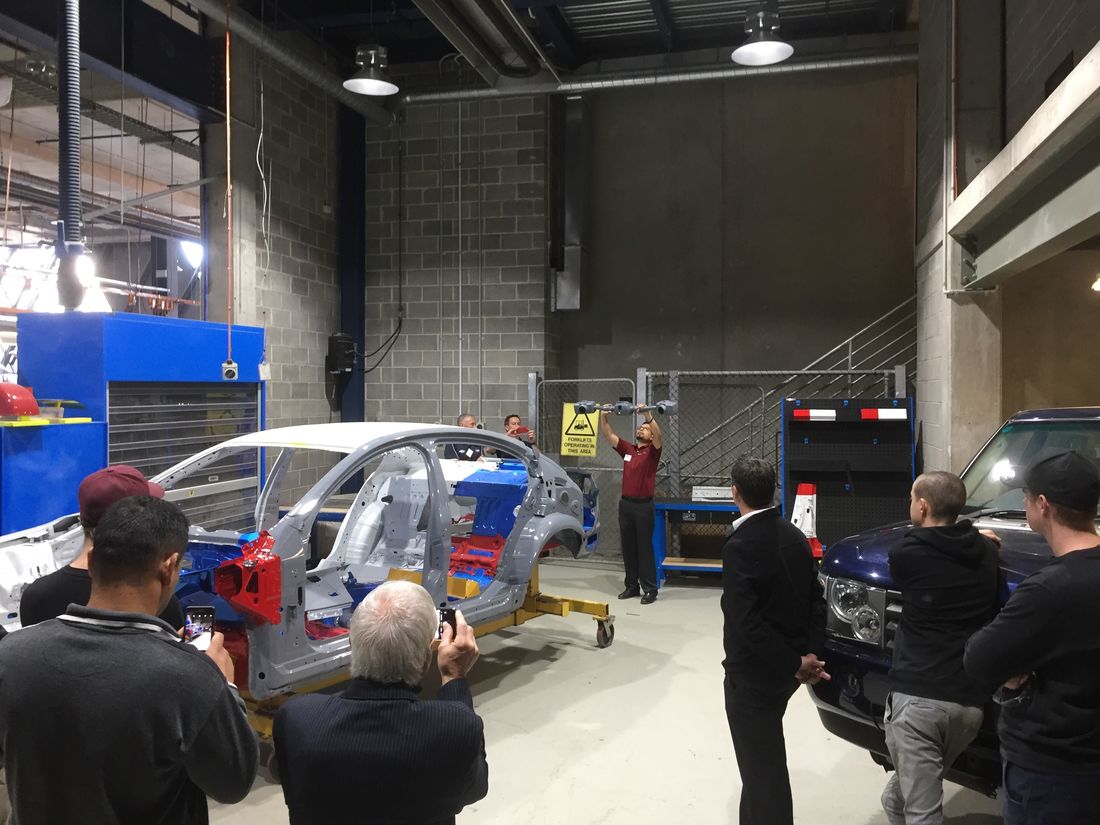
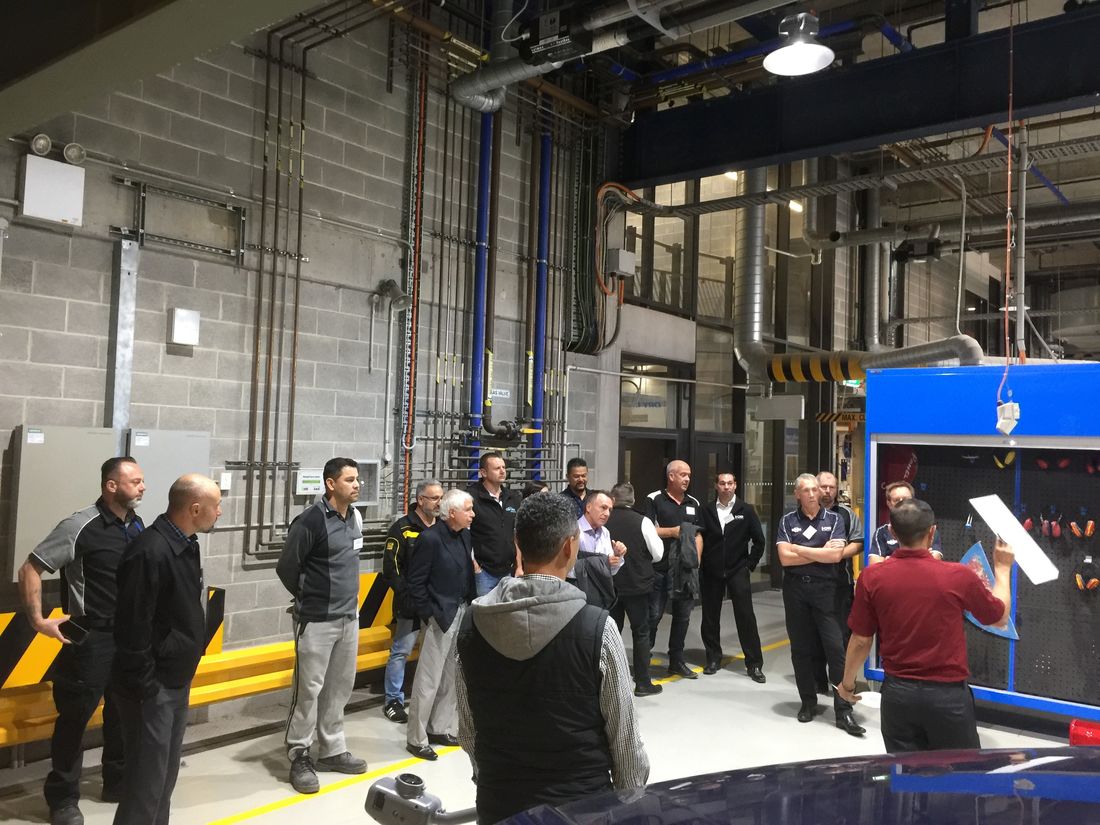
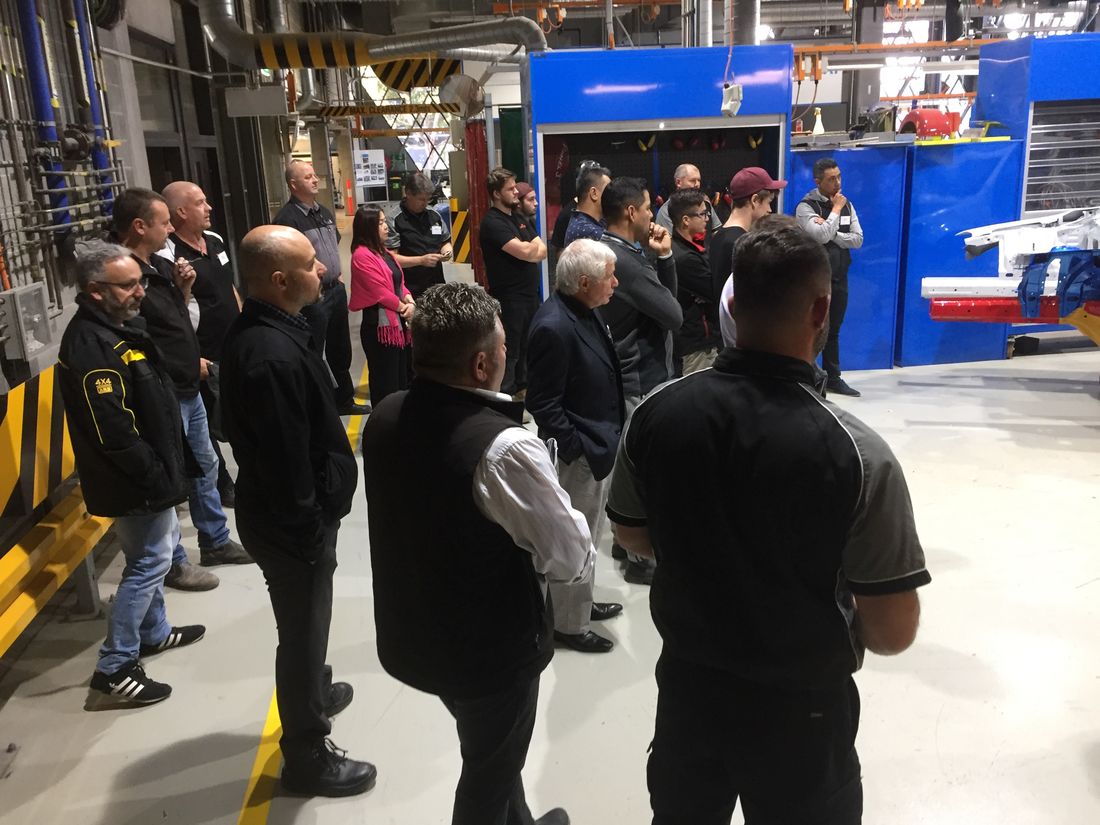
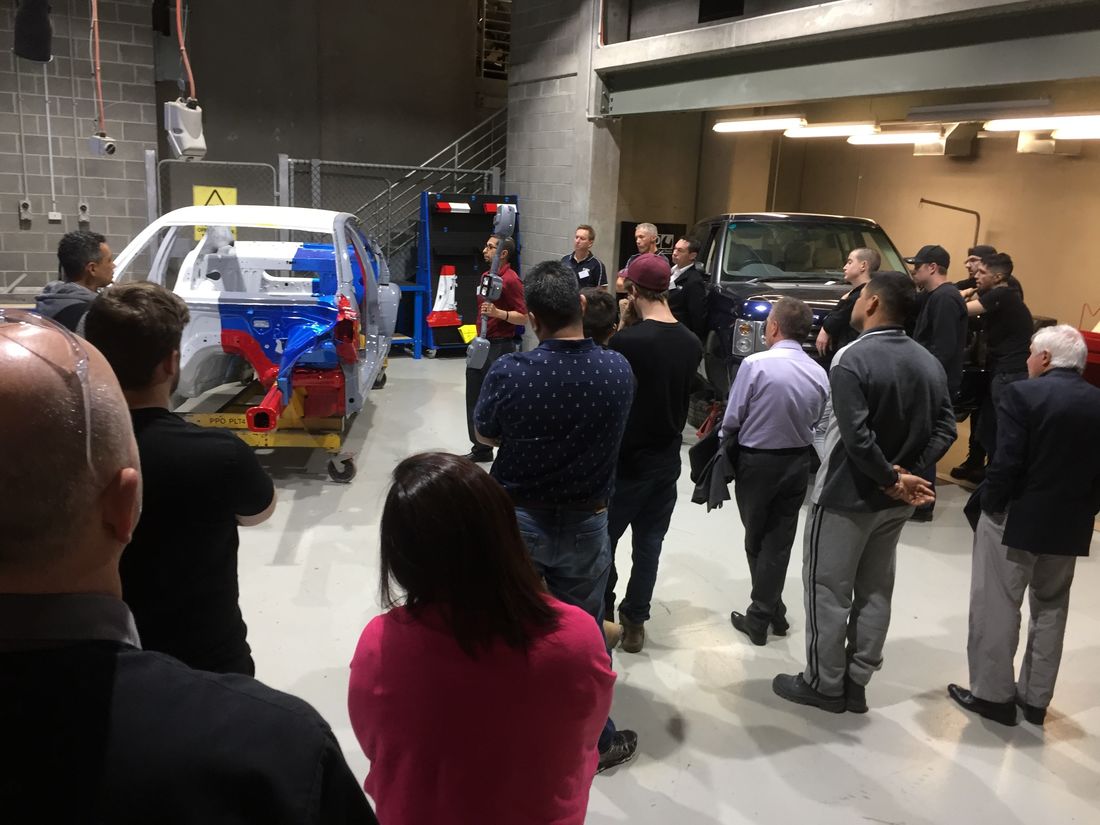
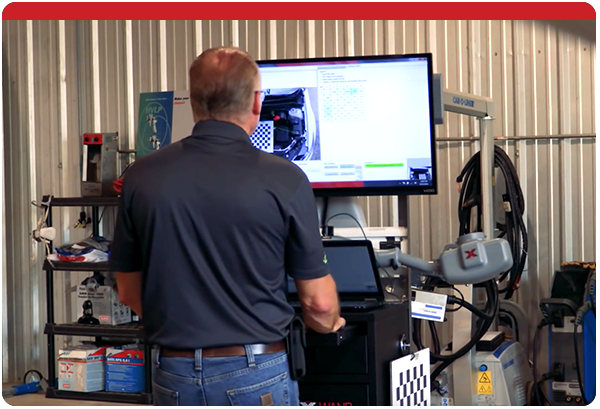
A demonstration of the MATRIX WAND was held on the 8th May 2018 at The Kangan Institute, Docklands Melbourne.
The Melbourne team was joined by the team from USA and it was certainly an extremely informative event.
